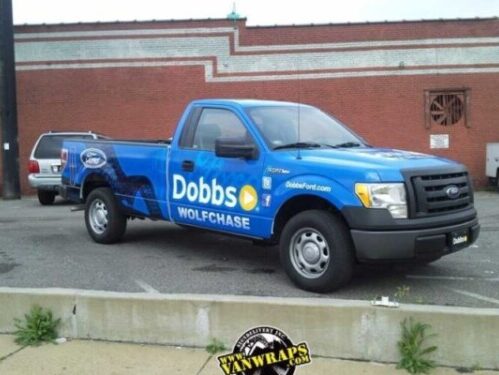
Vehicle wraps are large vinyl graphics that are applied to the surface of a car, truck, or other vehicle. They can be used to display advertisements, promote a business, or simply add a unique visual element to a vehicle. Here’s a general overview of the process for creating and installing a vehicle wrap:
- Design: The first step in creating a vehicle wrap is to design the graphics. This typically involves creating a digital file of the desired design using a graphics design software such as Adobe Illustrator or Photoshop.
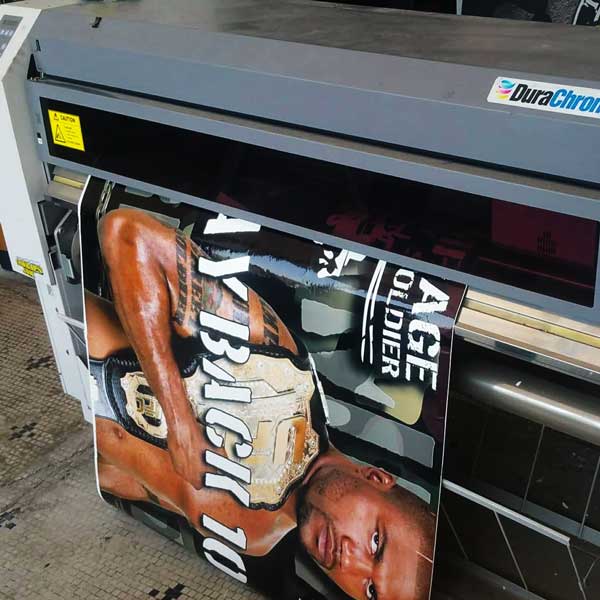
- Printing: Once the design is complete, it is printed onto large sheets of vinyl using a specialized printer. The vinyl is typically printed in sections that will be pieced together to cover the entire vehicle.
- Cutting: After printing, the vinyl sheets are cut into the desired shape using a computer-controlled cutting machine. This ensures that the graphics fit the contours of the vehicle accurately.
- Preparing the vehicle: Before the wrap can be installed, the vehicle must be thoroughly cleaned and prepared. Any dirt, grime, or contaminants on the surface of the vehicle can interfere with the adhesion of the wrap.
- Applying the wrap: The wrap is installed by carefully positioning and sticking the vinyl to the surface of the vehicle. This process typically involves heating the vinyl to make it more pliable, and using specialized tools to smooth out any wrinkles or bubbles.
- Finishing touches: Once the wrap is installed, it may need to be trimmed or touched up to ensure a seamless finish. This may involve using a knife or other cutting tool to trim excess vinyl, or using a heat gun to smooth out any wrinkles.
Installing a vehicle wrap is a complex process that requires a high level of skill and attention to detail. It is usually best to have the wrap installed by a professional wrap shop or an experienced installer.


